• Skip to primary navigation
  • Skip to main content

Hobrecht Lighting

  • Buying Guides
  • Styles & Trends
    • Bathroom Lights
    • Ceiling Fans
    • Ceiling Lights
    • Lamps
    • LED Lights
    • Outdoor Lights
    • Smart Lights
    • Wall Lights
  • Wellness & Safety
  • Shop Products

Styles & Trends

Why You Should Use Your Ceiling Fan All Year Long

Why You Should Use Your Ceiling Fan All Year Long

by admin · Mar 16, 2024

Ceiling fans are no new invention. Yet, despite their prevalence, many renters and homeowners are in the dark about how to properly use one. Simply turning it on and letting the blades spin might not always do the trick. Your ceiling fan is equipped with a special feature to keep you feeling great through every season.

In the warmer months, ceiling fans are commonly used to circulate the air in a space to keep it cool.

But did you know that there is a ceiling fan switch that can also work in the winter to keep you warm and toasty?

Here’s how to determine which way your ceiling fan should turn:

How It Works

It all has to do with fan direction. Setting the blades to rotate in different directions affects how the air in the room is felt. How can you make use of this feature? A small ceiling fan control switch on your is the key to changing your fan’s rotation. One setting rotates the blades clockwise, the other works for counterclockwise rotation. The fan direction can be determined by assessing its direction from a point of view while standing below it.

But how do you know when to use which setting?

Outdoor ceiling fan with tropical imprinted, wicker design with additional features including a switch for winter

For Cooling

In the summer, your ceiling fan should be set to rotate counterclockwise. This way, cool air is pushed downwards and causes a “wind chill” effect that makes your body and room feel cooler.

For Warming

In the wintertime, ceiling fans can be a great asset for warming the home. A clockwise setting (on the lowest speed) will slowly pull the air upwards (away from you) and towards the ceiling.  This pulls cool air up and displaces the warm air that collects near the ceiling when it rises. The warmer air this then pushed lower down, toward the floor, making the room feel warmer, allowing you to lower the thermostat.

Simplistic 3-blade ceiling fan with control switch in modern, minimalist, neutral-colored living space

Energy Savings

With a simple ceiling fan switch, you can significantly reduce your energy costs. Because the ceiling fan only moves the air, it doesn’t actually change the temperature of the space. This explains the wind chill factor that results in your lowered body temperature with the breeze from your ceiling fan. If your air conditioner is set to a certain temperature and you are sitting under a fan in the hot summer months, your skin will begin to cool down without any actual change in room temperature.

When used in conjunction with air conditioning in summer, you can raise the thermostat 4-5 degrees with no loss of comfort and still save up to 30 percent on your energy bills And in winter, you can cut costs by up to 15 percent! That adds up to some serious savings.

Shop Our Store

Filed Under: Ceiling Fans, Styles & Trends

QUICK TIPS FOR BUILDING A COZY BOOK NOOK

QUICK TIPS FOR BUILDING A COZY BOOK NOOK

by admin · Mar 2, 2024

The inglenook is a cute name with a charming history.  It literally means “chimney corner” and began as a wooden seat built into the space on either side of the wide fireplaces common in 17th-century English houses and cottages.

inglenook

Over time, the concept evolved to it’s own room near a fireplace room right off the kitchen and was meant to be a cozy place to get warm.  It was a little room inside of a bigger room. 

The concept of an inglenook has been reinvented recently and is used more generally when talking about how to convert a simple space with seemingly no defined use, to a creative nook that you can’t wait to be in!  The modern concept of the nook nook is something to consider for an odd space without a definite purpose.

Some rooms have an obvious furniture layout that will fit them.  For instance, the sofa will only fit the room going one particular direction to where it is facing the TV area.  Some rooms have several layouts and there’s not just one right way of laying them out.  Regardless of your room setting, finding a place to create your own little inglenook to curly up and read may be easier than you think.  A cozy book nook can be created along a blank wall, in a corner full of windows, or even on the backside of a sofa!  Here are some helpful hints to create a modern day inglenook that can still “warm” you when sit and stay awhile. 

Book Storage:  A book nook includes books so have a fun way of storing them in this little area.  A cute big basket, simple wall shelves, or a storage ottoman can all make for a fun way to define your space.

Something to Sit On:  It may be time to get that cute accent chair you’ve always wanted.  For the grown-ups, a chair with an ottoman or something to put your feet up on will do the job.  For kids, fun-print floor pillows or cushions will call their name.

Define the Space:  Set your space apart from the rest of the room, even if it’s still part or your room—remember, a “little room inside of a bigger room.”  A small rug will do the job of defining this space.

Light:  Poor lighting is hard on the eyes and can ruin the appeal of the most beautifully crafted reading nook. Where possible, use natural light is great. Its good for the soul easy on the eyes and is the greenest form of light available.

When natural light is not an option, supplement with a lamp to bring in some color, an element of style and some nice task light to your area. Floor lamps are by far the most convenient way to bring lovely lighting to your gorgeous new reading nook.

Wall sconces give an elegant look to any space.  While more difficult to mount, these lights turn into permanent fixtures and will are offer a reliable beam for reading any time of day. Mounting two on opposite ends of the nook, cover both sides while offering a “dim zone” in the middle if you do not want bright light.  Adding a dimmer switch is a great idea that allows you to adjust the brightness to the perfect level no matter the task.

No Phone, No Problem!  Your inglenook is calling you to come and read a book.  Get cozy, grab a throw blanket and leave your phone behind.  

Comfort can be found by young and old in the depths of a wonderful book.  Creating a “book inglenook” that calls you to come and stay awhile is simple and rewarding.

Filed Under: Lamps, Styles & Trends

Exhausted? Maybe It’s Time To Change The Light In Your Home

Exhausted? Maybe It’s Time To Change The Light In Your Home

by admin · Feb 24, 2024

Feeling exhausted? Indoor light may be to blame. Because the average human is exposed to more artificial light than sunlight, our bodies are not able to receive the cues we once relied on. These cues include when it is time to wake up and when it is time to go to bed!

Naturally, melatonin should be released a few hours before bedtime, helping us to feel drowsy. But in this day and age staying up later is as simple as the flip of a switch. Reconnecting with the sun cycle allows humans to feel less drowsy during the day and teaches us how to get more energy naturally again.

Artificial Lighting

When we fall out of sync with the sun, our body clock physically changes and our melatonin gets all out of whack. Because of this, artificial lighting is most likely causing you to feel exhausted throughout the day.

Designers will tell you the most important design element to consider is the lighting. Not only does lighting have the ability to change the mood of the room, but your mood as well. You may have experienced this for yourself. You can walk into a room and feel instantly cozy and at ease. Other times you may walk into a harshly lit room with buzzing lights and feel automatically tense.

How to Get More Energy Naturally

Changing the lighting in your home or office could solve all of your problems if you have been wondering how to get more energy naturally. We have all heard, “get more sunlight!” before, but for most of us, sitting outside all day is not an option when there is work to be done.

We believe you can get more energy naturally by maximizing sunlight. Therefore have as much natural light as possible pouring into your space. And then supplement sunlight with LED lighting. With LED lighting, your home or office can still possess some of the health benefits of sunlight while boosting your energy levels.

LEDs and Sunlight

The LED lighting is the closest artificial lighting can come to natural sunlight. The right LEDs can mimic the natural sunlight, helping your body clock stay in tune with the sun cycle. LED lighting used in combination with natural sunlight is the recipe for success. People who are exposed to more natural light, often sleep longer than those who do not. When you are exposed to natural lighting during the day, your body clock will get back into sync, giving you energy when you need it most.

Winding Down

Winding down with the sun can be just as important to your sleep cycle as getting natural light during the day. Before bed, lower the lighting in your house to promote winding down and relaxation. Winding down will send a signal to your brain that it is almost time to go to sleep. During this time, melatonin will begin to be released causing you to begin to get sleepy. Winding down is made easier with adjustable lighting fixtures.

Another protip is diming the lighting for dinner parties, making the transition from the night into your home easier and natural for your guests.

About Us

At Hobrecht Lighting, we strive to provide our customers with lighting systems that noticeably improve the safety and wellness of your space. Because we understand the effects of light, we find it energizing to feel the difference in a room when the lighting is revamped.

For LED lighting, dimming fixtures and more on how to get more energy naturally visit Hobrecht Lighting today!

Filed Under: Styles & Trends, Wellness & Safety

3 Bathroom Dilemmas We Don’t Talk About Enough

3 Bathroom Dilemmas We Don’t Talk About Enough

by admin · Jan 27, 2024

Now that we’ve given plenty of attention to the age-old debate about how to place toilet paper, I think it’s time to move on to something else. A well-lit bathroom can make or break your morning routine, and vanity lighting is a huge part of that! How often do we really stop to consider vanity lighting, however?

We’ve compiled the 3 most vital elements of vanity lighting and a summary of each topic. After you read and feel informed, pick your side! If you haven’t had these debates with your spouse, parents, or roommates yet, NOW is the time. These details can really maximize your bathroom space and transform your morning routine.

1. How to Hang: Up or Down?

The first thing you should consider is how to hang your vanity lights—shining up or down? First, consider how you’ll use these lights. Are they direct task lighting? If so, angle down or at the face. An indirect light source for style and mood? Shine them up.

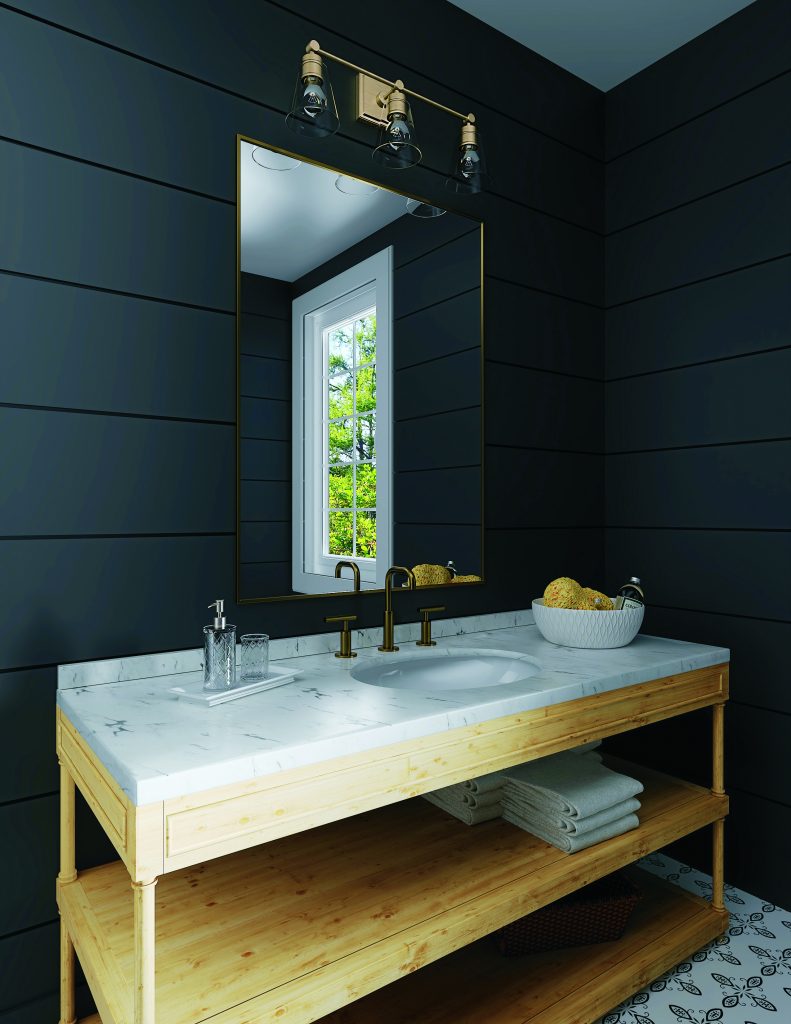
If you have a bathroom with a darker color palette, a downward hanging light may suit you best. Why? Darker colors soak up more light, and hanging it downward will focus the light on the area you really want to be illuminating.

If your bathroom has a lighter color, palette an upward hanging light will work best for the space. Why? The light reflects off of the ceiling and walls, amplifying the overall light for the entire room. Regardless of which direction you hang them, vanity lights should hang high off of the floor, approximately 78 inches.

2. Clear or Frosted Glass?

You may have already had this debate when choosing other fixtures, but it’s especially relevant to vanity lights. They’re closer to eye level and more frequently viewed than most home fixtures, so choose well here!

In my years at a lighting showroom, the more popular choice has always been frosted glass. Why? One favorite feature about frosted glass is that it shines a soft ambient light. It still provides plenty of lumens, but isn’t too harsh on the eye. They also require less cleaning, since you’re unlikely to see fingerprints or smudges. A weekly light dusting should do the trick.  

On the other hand, I’ve encountered many lovers of clear glass. For one thing, they distribute more lumens, since the glass doesn’t diffuse the light. They’re often better for task lighting, aiding in accurate shaving or makeup application. The exposed light bulbs also add an element of style with different shaped filament bulbs.

3. What Fixture Size Is Best?

There’s a lot of variety in vanity fixtures. Some are small and dainty, others dramatic and large. We’ll let you have those infinite debates of taste as you surf Pinterest or our online catalog, but for now we’ll do you a favor and insert a lesser-known detail about proportions.

If your vanity light fixture is going over a single sink bowl, the fixture should be at least ¾ the size of the length of the mirror. Center it above the sink, and never select vanity lights that exceed the length of the mirror. If your vanity has two or more sinks, the same rules apply and you would center each light over its respective sink.

So there it is—the bathroom dilemmas no one talks about. Lighting matters! And fitting your vanity lighting to your unique taste will ensure an even better morning routine and evening wind-down experience.

Filed Under: Bathroom Lights, Styles & Trends

7 Ways to Transform Your Bathroom

7 Ways to Transform Your Bathroom

by admin · Jan 20, 2024

Your primary living spaces aren’t the only rooms in your home that showcase your style, so it’s time to show your bathroom a little love, too! Sure, normal décor pieces are a good start – an awesome striped accent wall, your favorite waterproof art piece, or a brightly patterned shower curtain. To take it to the next level, however, consider adding some flair to the functional pieces of your room, like your lighting. Wondering how to start? Here are 7 tips, and plenty of examples, to show you how to transform your bathroom lighting and style.

1. Use Striking Wall Colors

Coloring with contrasts make for a striking match with any vanity set. A simple, yet functional brass light fixture ties the whole look together, while still providing the bright light you need to get ready every morning.

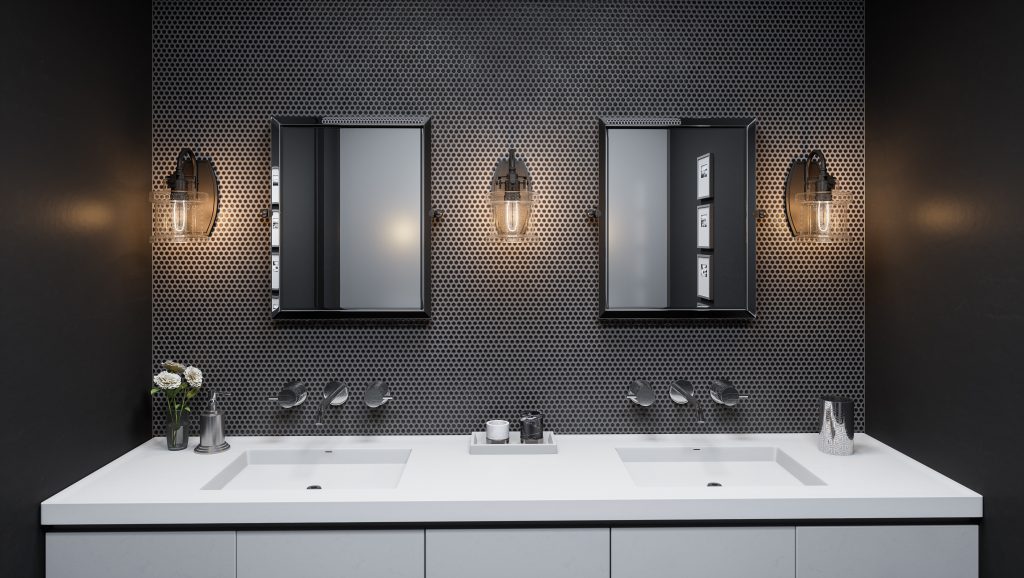
Sometimes, simplicity makes for the best design. Matte black task lighting, bright yellow bulbs, and a textured black backdrop create a truly showstopping combination, adding a dramatic effect that’s sure to leave any guests talking.

2. Color-Coordinate Your Hardware

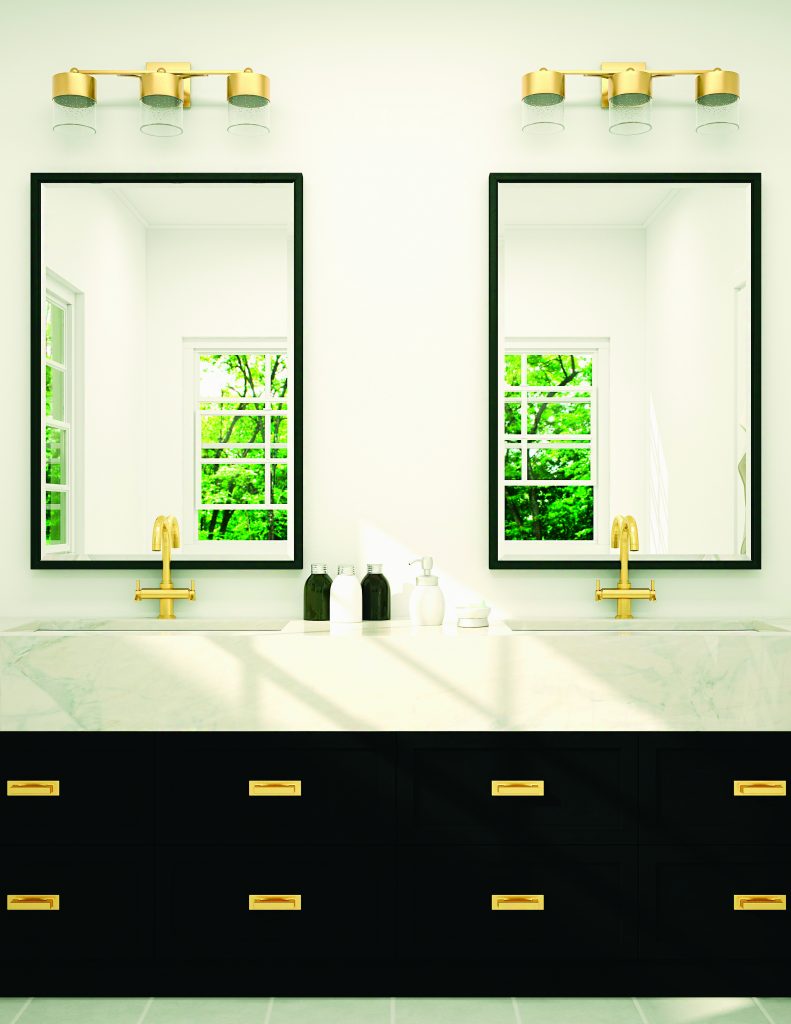
Make any vanity look luxe with gold features. Coordinate your drawer handles, faucets, and light fixtures for a put-together feel. Especially when paired with simple blacks and whites, these accents really shine!

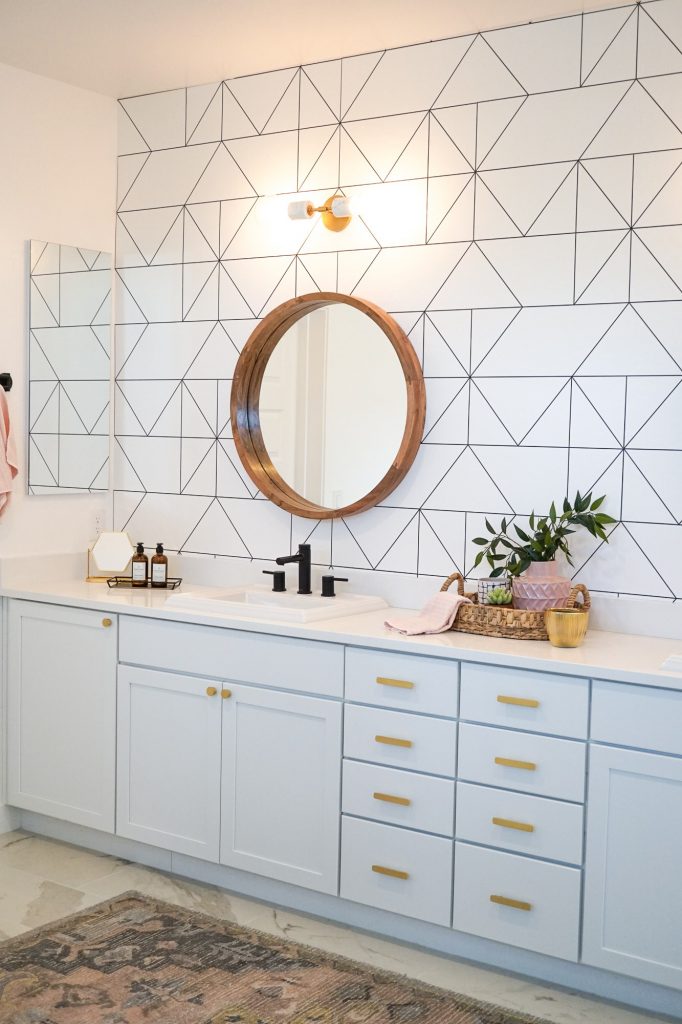
This bathroom uses a brilliant geometric design as a wall accent, then simplifies the space with a clean-cut, over-the-mirror light fixture in a pretty accent color. The result is an engaging, but not overly busy, bathroom look.

3. Use Chandeliers to Make a Statement

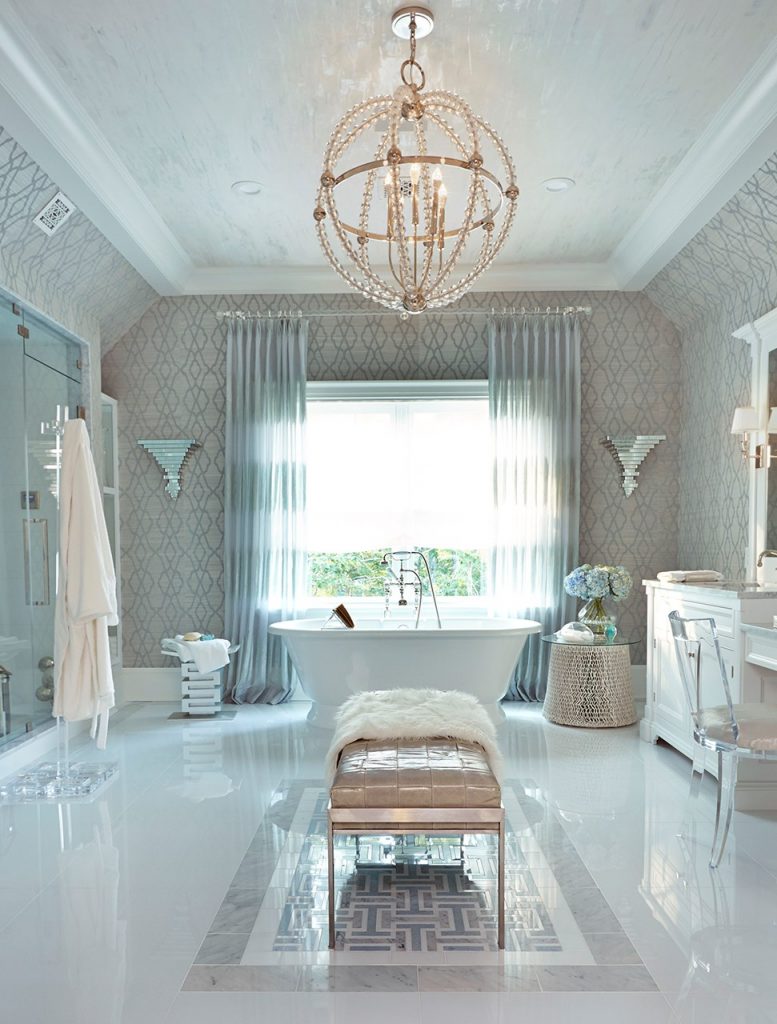
Create a primping room fit for a Hollywood A-lister by using some surprisingly simple décor essentials: a classic vanity, glamorous chandelier, and patterned walls. The result? A bathroom with a touch of flair, lots of style, and a slight air of drama. We love it!

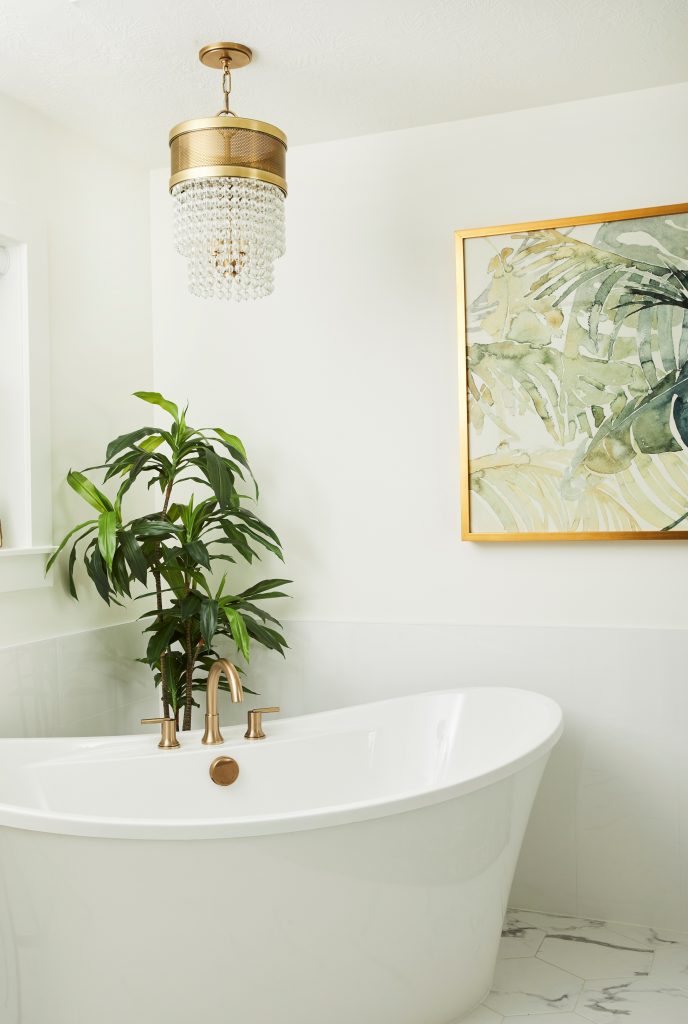
Want a more understated room with just a touch of glitz? You can still lounge in luxury as you soak beneath a dazzling chandelier.

4.  Mix Natural and Modern Elements

Bring all of the soothing spa vibes to your own bathroom while still keeping it chic. Here, natural wood elements are balanced with sleek, simple light fixtures and mirrors that provide an understated modern touch.

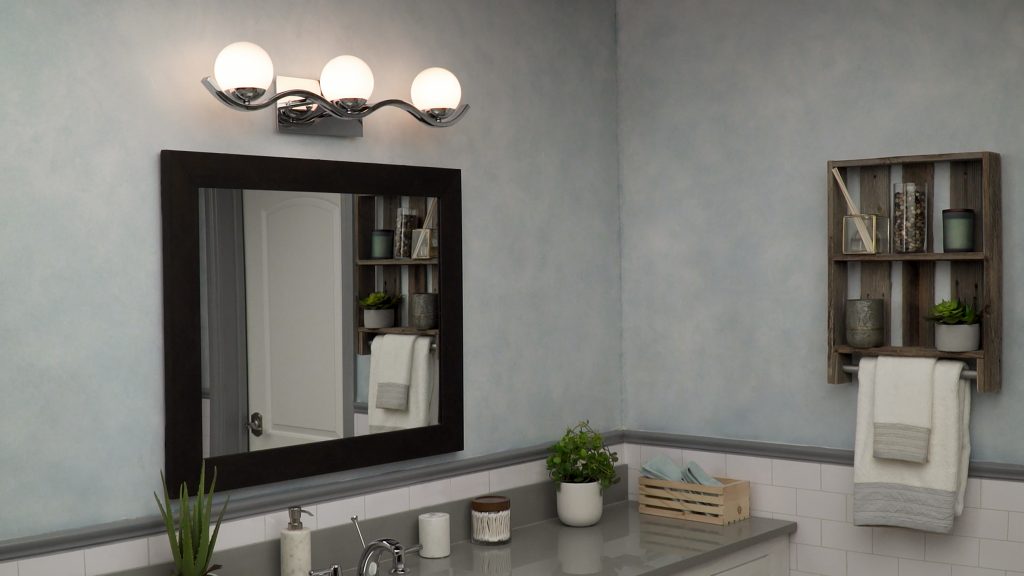
This bathroom makes a great use of natural touches with wooden shelves and small potted plants. To top it off, the light fixture’s wavy, modern design sends an organic “go with the flow” impression that matches the tone of the room’s décor.

5. Choose Fixtures that Create or Compliment Bold Color Accents

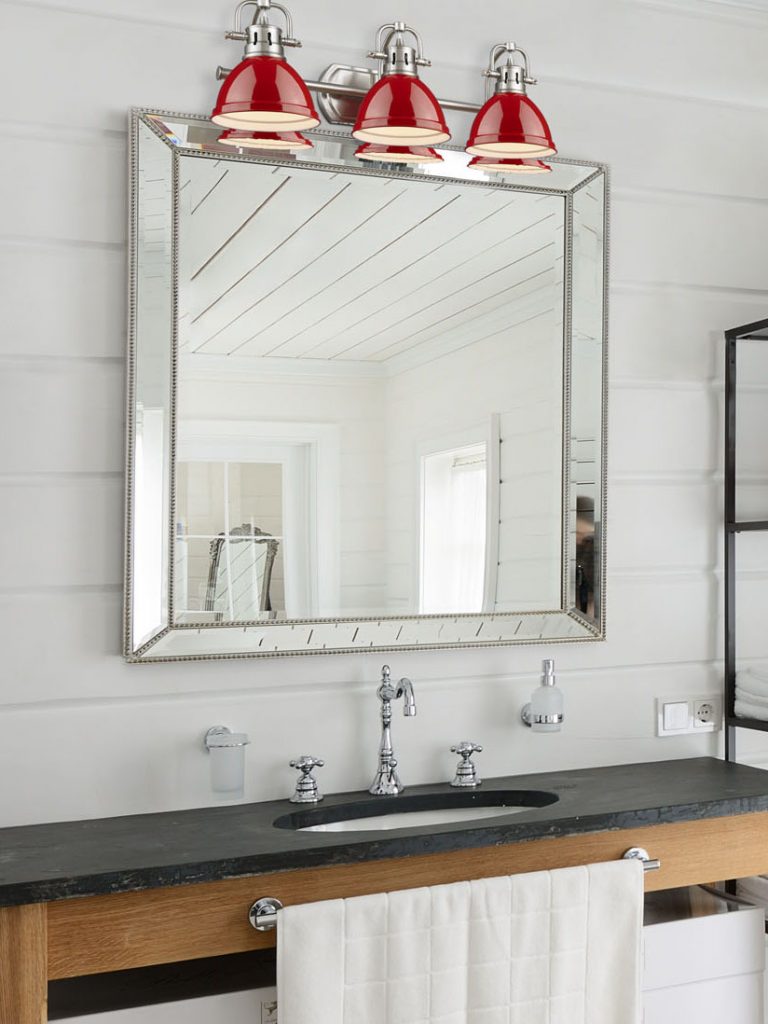
If you want a pop of color in your bathroom, but you aren’t willing to commit to a full accent wall, try colorful light fixtures! These red lights are a bright spot in a white room that draw attention and add style without being overwhelming.

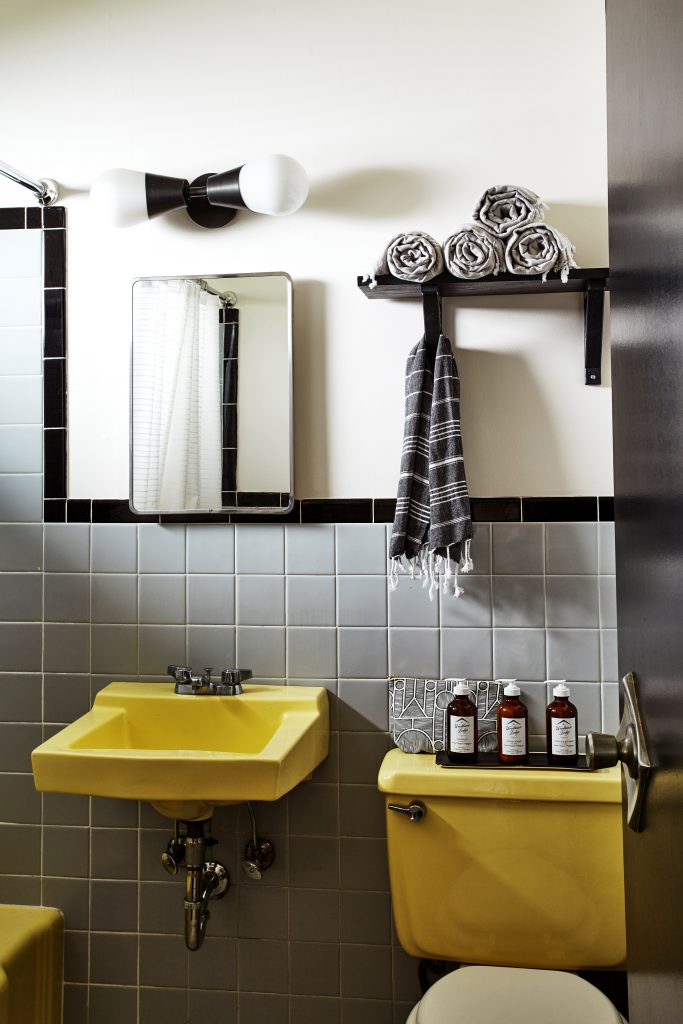
If you’ve got some fun color elsewhere, like this vintage yellow toilet and sink, that’s great! This black fixture blends with the style and lets the colorful toilet and sink truly shine.

6. Embrace Classic Elements

If you’re looking for a simple, sophisticated bathroom, this one will suit your tastes. The vanity set and walls have subtle detailing, while the silver light fixtures boast clean lines and an elegant silhouette. 

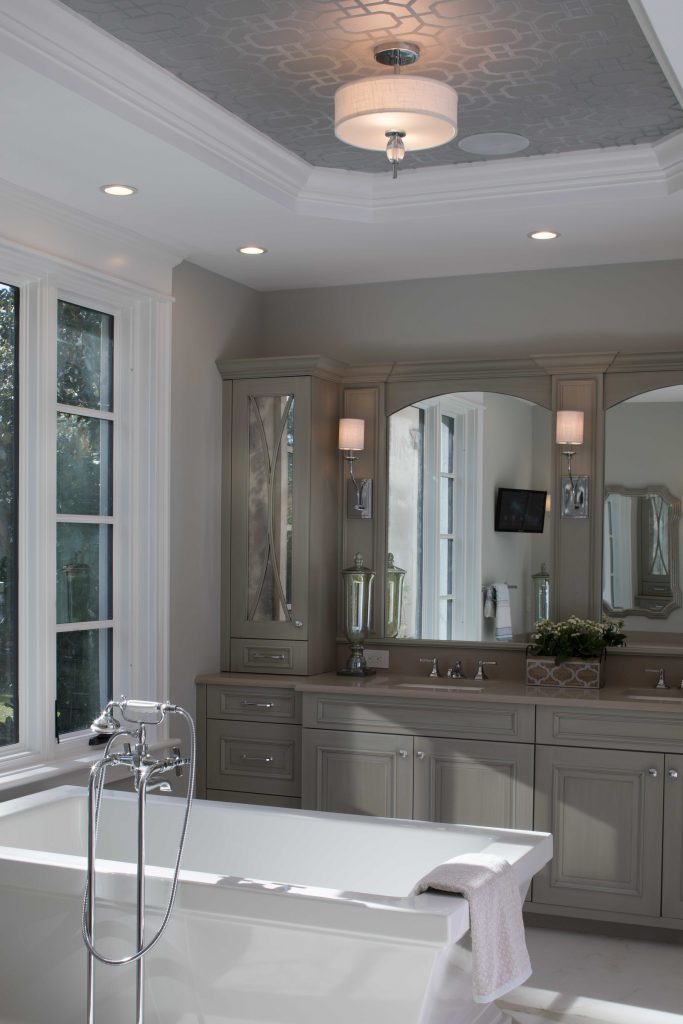
Here, a large, gorgeous vanity takes center stage. Combined with modest, shaded light fixtures, the overall effect is timeless and elegant.

7. Play Around with Interesting Shapes

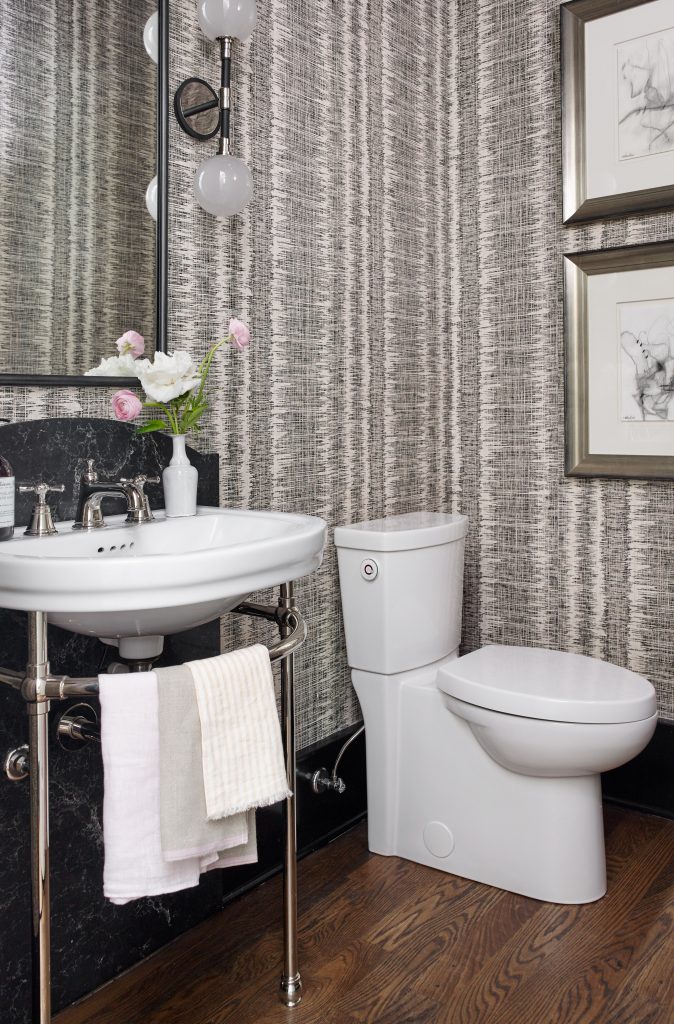
Hoping to create a quaint, charming wash room? A minimalist vanity, pretty wall pattern, and small vase of flowers are a good way to start. The light is a beautiful finishing touch: it’s simple enough to highlight the other design elements, but the double-sided fixture is unique enough to add some extra flair.

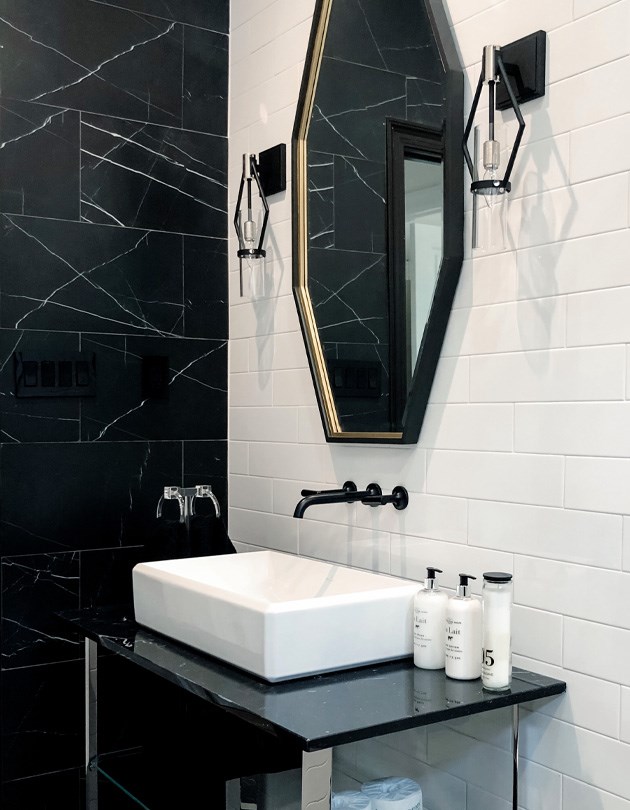
In this bathroom, diamonds are everyone’s best friend. Flanking the mirror with unusual diamond-shaped light fixtures creates a distinctive, fashionable element, making this space seem subtly one-of-a-kind.

While the task lighting on each side of the mirrors is straightforward, it’s the unusual shape of the overhead lighting that commands attention in this modern bathroom. The overall effect? A bathroom that’s stylish, sleek, and unique.

Feeling inspired? Transform your bathroom into a space that’s truly yours with any of these simple tips. Whether you add an accent wall, a colored fixture, some interesting shapes or natural elements, we’re sure you’ll love the effect! Best of luck from us here at Hobrecht Lighting.

Filed Under: Bathroom Lights, Styles & Trends

12 Tips for Choosing and Hanging the Perfect Dining Light

12 Tips for Choosing and Hanging the Perfect Dining Light

by admin · Jan 13, 2024

Whether it’s time to impress your new neighbors or host an important business dinner, your dining room is a high-impact space that communicates a lot about you. Some dining rooms are an informal extension of the kitchen, while others are a spacious, separate room. No matter what yours looks like, choosing the right design (and light) can create the perfect setting for all occasions. 

Size

1. To determine the best size for your fixture, use this formula: Length + Width = diameter of your ideal light. Example:  10’ (length) + 14’ (width) = 24” (width of your light). It’s a general rule, so use it at your own discretion and adapt to suit your preferences!

2. Long dining tables call for bigger lights. Consider a long track light or even mount two fixtures on either end of the table. It’s a great way to emphasize your lovely, lengthy dining space!

Style

3. The style you select reflects your personal taste, but also affects the function of the light. Shaded lights provide soft, subtle light, while glass fixtures diffuse light more brightly and evenly. Exposed bulbs provide the most clear, crisp light.

4. If your dining room branches off your kitchen, consider matching the finish of the dining light to the finish of kitchen lights or hardware.

5. If your dining room is separate from the kitchen, feel free to choose a distinct finish for a unique dining room atmosphere. Just remember that it should still ‘live well’ with any visible fixtures from surrounding rooms.

Height

6. Know your ceiling height before selecting a light. Most fixtures are designed for an 8-foot ceiling.

7. If you have a vaulted ceiling, use some of that space for the fixture, but keep it mounted low enough that it still feels like a cohesive part of the dining table ensemble. 

8. Proper mounting height is 30-36 inches from the top of your table to the bottom of the fixture.  That figure can be a little higher on a taller ceiling.  

9. Fixtures with decorative pieces or hanging crystals may hanger lower than the recommended 30-36”. For these fixtures, measure to the frame of the light instead. 

Wattage

10. The general recommendation for dining light output is 300 watts. This is especially true for rooms with lighter paint colors.

11. In dining rooms with darker paint, consider choosing bulbs that provide 400 watts or more.

12. For additional control and extra ambiance, use dimmable bulbs and install a dimmer switch in your dining room. It’ll serve equally well for full-light projects and dimly-lit romantic dinners. 

Make your dining room an inviting space with an expressive, efficient fixture. For any additional questions, feel free to contact our expert team here at Hobrecht Lighting. We’re here to help you make your dream home!

Filed Under: Ceiling Lights, Styles & Trends

Break into Farmhouse Flair with Your Home Lighting

Break into Farmhouse Flair with Your Home Lighting

by admin · Jan 6, 2024

If the down-home charm of farmhouse style speaks to you, you’re not alone! It’s a trendy style with staying power, and now’s a great time to start adding farmhouse décor around any home. If you’re unsure how to start, however, switching out your light fixtures is the perfect starting point. There’s no repainting, rearranging wall hangings, or reupholstering involved- just a simple swap to get the look you want!

Here are some of our favorite ideas that add a touch of that Farmhouse Flair:

Electric Candles

Sure to add an atmospheric glow to any event, candlelight is one of the best ways to slip some farmhouse fashion into your home.  It’s rustic, reminiscent of simple times, and charming in all the right ways.

Rough, Unfinished Metals

Don’t be afraid to flaunt some rust and roughness in your metal décor. Whether it’s a functional light fixture that’s made to look aged and distressed or simply a decorative lighting piece like this lantern, aged metal is a farmhouse staple.

Rope or Twine Details

As a compliment to the fresh, finished pieces of your décor, try some unfinished twine-like lighting. The rope cords add excellent texture and depth, and the combined effect is a rustic, upscale farmhouse look fitted for any room.

Imitation Fencing or Caging

If you’re looking for just a small touch of farmhouse style, try a gentle nod to farmhouse with cage-like metal fixtures. They’re easily hung anywhere in your home, and they’re versatile enough to match with any kind of décor if you decide to redecorate later.

Bolts, Nails, and Screws

Imagine hand-constructed barrels, fencing, wagons, and more when you look at the quaint bolt details on this ceiling fan. Ultra-functional and fashionable, it’s great for any room in your home. Even better? Try it in an outdoor, covered area- just make sure the fixture is damp-area rated!

Bleached or Faded Wood

Almost nothing says “farmhouse” more than bleached, faded, or distressed wood. This fixture is simple and unassuming, but adds some textured dimension to the space. Add that to the rich green hues on the walls and linens… we love the look!

Mixed Material Fixtures

Metals, fabrics, chains, woods, and more… Farmhouse is a fresh take on an old-fashioned look, and it really shines in fixtures that use various materials to bring old and new worlds together.

Old-Fashioned Bulbs

With the right bulb in place, simple fixtures are automatically transformed into something quaint. Those old-style bulbs are comforting, familiar, and full of farmhouse flavor. Best of all? You can add them to an existing fixture for an extra simple update!

Do you like what you see? Props to farmhouse décor for serving up some beautiful details that are ready to brighten your home. Contact us at Hobrecht Lighting for more information about farmhouse-friendly lighting or any other home lighting needs!

Filed Under: Ceiling Lights, Styles & Trends

« Previous Page
Next Page »

Copyright © 2025